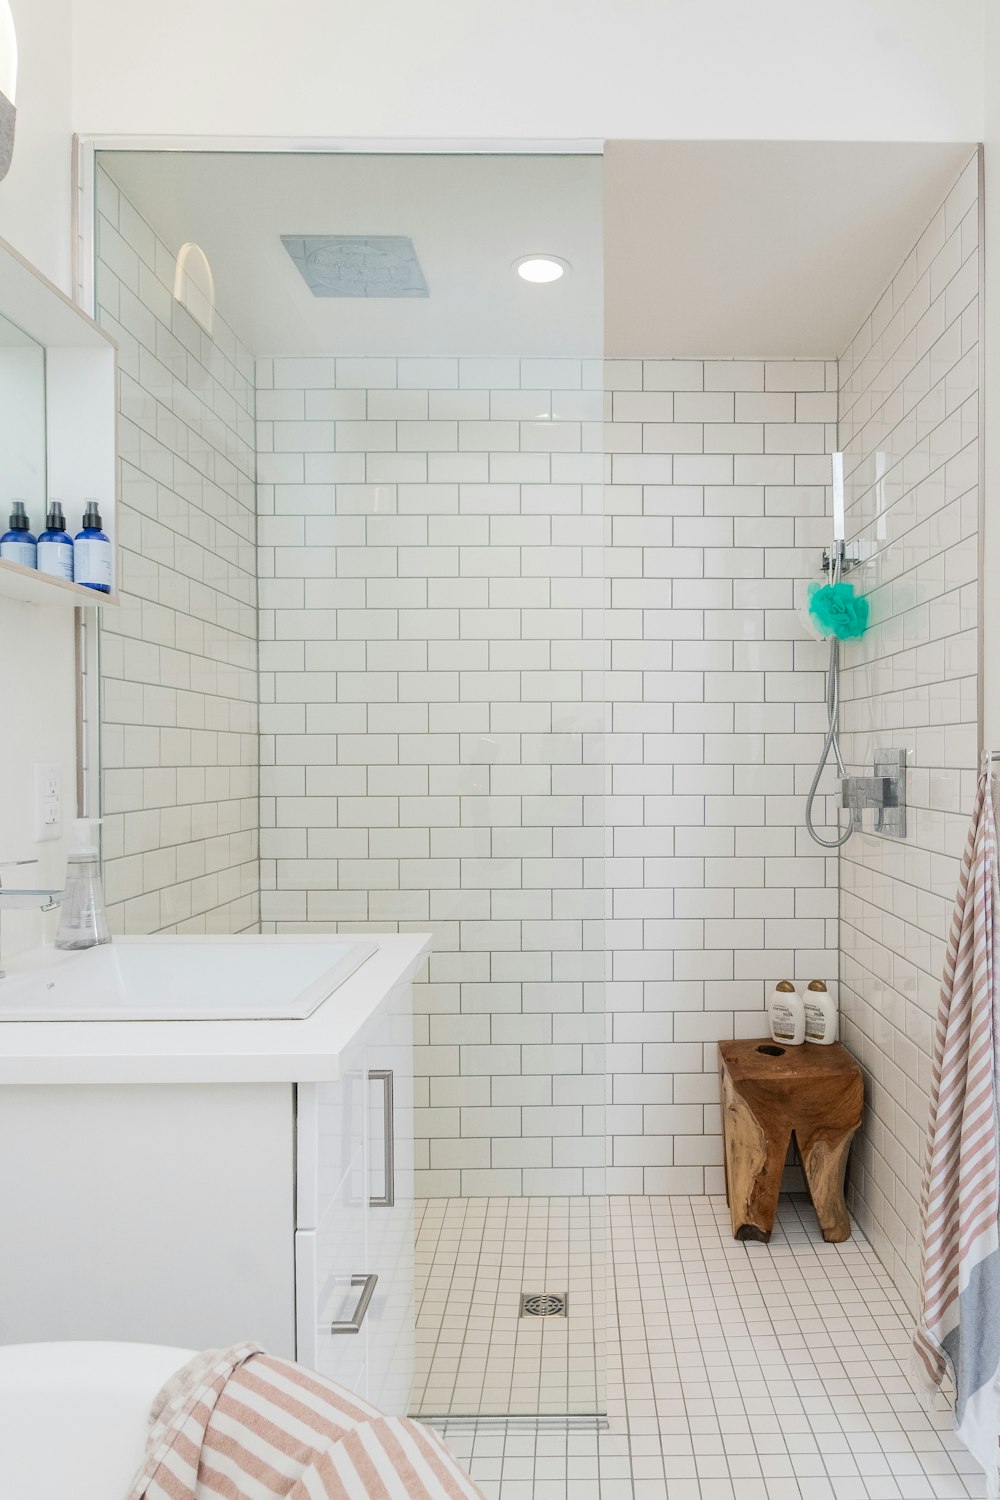
There are plenty of reasons to install a new bathroom vanity. A new vanity can provide more storage or counter space, change the look of the bathroom, and make it easier for residents to get ready for their days. Plus, for handy homeowners with all the right tools and experience, installing a bathroom vanity is a relatively simple one-day project that can be completed in just eight steps.
1. Measure Twice
Whether homeowners are remodeling existing bathrooms or adding new ones, the best place to start is obtaining accurate measurements. As with all home improvement projects, accurate measurements are absolutely essential.

2. Choose a New Vanity
There are numerous vanity types to choose from, so it’s easy for homeowners to find themselves feeling overwhelmed. When shopping for a new vanity, it’s best to focus on the counter and storage space. Hardware such as faucets and door handles can always be replaced.
3. Remove the Old Vanity
This third step is where things start to get a little tricky. Homeowners who aren’t very strong or don’t have the right tools can visit Express-Handyman.com to get help with the rest of the process. Otherwise, follow these steps in removing the vanity to avoid plumbing disasters:
Shut off the water supply
Loosen the slip nut
Disconnect the supply lines
Cut the sealant
Remove the counter
Remove the sink top
Disconnect the vanity from the wall
Dispose of everything properly
4. Place the New Vanity
Some vanities are easier to install than others, but all require leveling and careful placement. Place the vanity in its future position and trace the outline on the wall before using a stud finder and marking the studs. Once the vanity is level, mark the holes for screws and water pipes.
5. Complete the Vanity Installation
Use three-inch drywall screws to attach the vanity to the wall through the pre-drilled holes. Some homeowners also like to use wall anchors for a more secure installation. Once the vanity is attached to the wall, install shims and, if necessary, quarter-round molding to cover large gaps.
6. Install the Plumbing
Place the gasket on the faucet and screw on fastening nuts, then insert it into the designated hole in the vanity top. Next, attach the water supply lines and the drain pipe using an adjustable wrench. Keep in mind that this step is easiest if homeowners assemble the faucets and drains before attaching the sink.

7. Attach the Vanity Top
Start by making sure there are no gaps between the vanity and the wall. Next, apply caulk to the top of the vanity base, then set the top into position and press down. Check again to make sure the top is level and flush with the wall, then add a backsplash, if necessary, once everything is in its final place.
8. Reconnect the Plumbing
Finally, connect the faucet water supply lines and reconnect the P-trap to the drain. Test the sink and plumbing for leaks before installing the pop-up drain, then sit back and relax. As long as there are no leaks, the project is done.
An Easier Alternative
If it sounds like installing a new vanity is a lot of work, that’s because it is. Homeowners who don’t have the time to tackle bathroom renovations can always hire a handyman. Handyman services offer an affordable and far more convenient solution than undertaking DIY projects alone.


