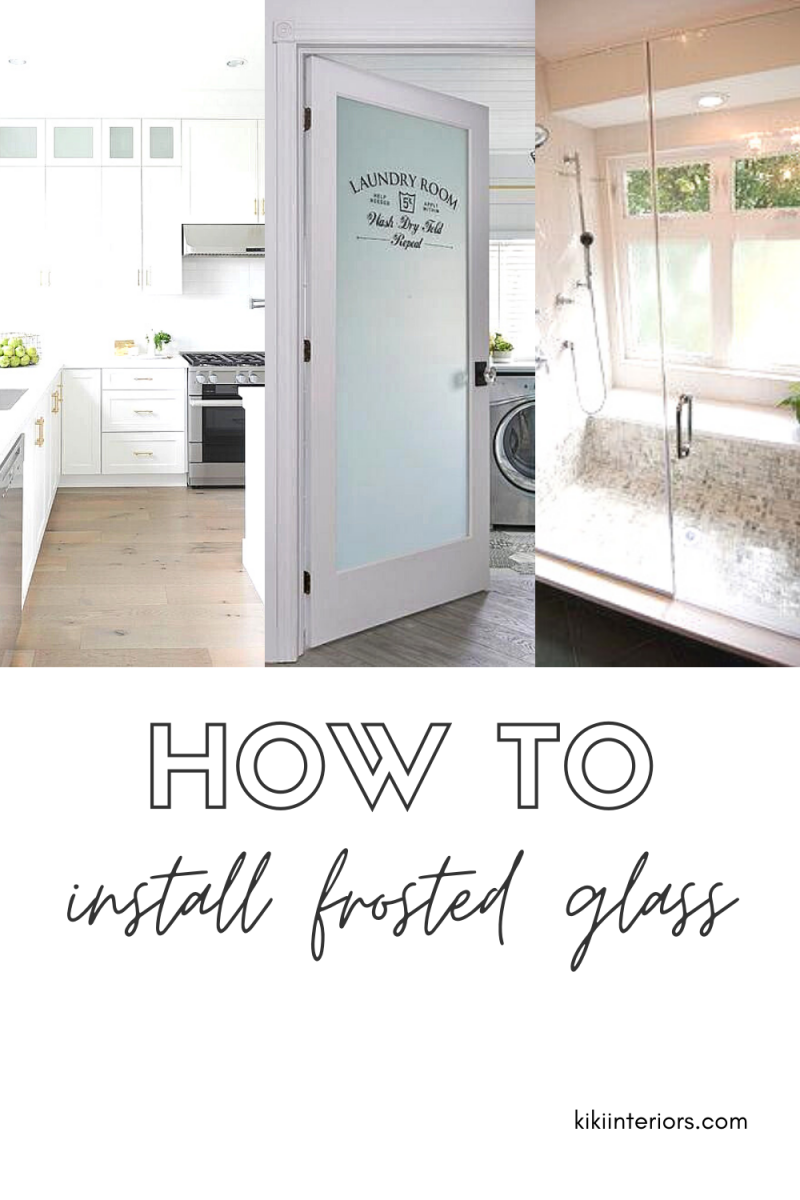
Glass doors, glass walls, glass room dividers, and large windows are very popular right now. But, once all that glass is used and people are actually using the rooms, there may be issues with privacy, sun glare, UV damage, Or security. The glass is fine, it just needs one more step to work better. Window films come in many different thicknesses, colors, and designs that will add design interest while giving people a little privacy.
Why Use a Film?
Installing frosted window film is not a hard project if quality films are purchased to start with. After purchasing good-quality window films, they must be installed by the supplier or by the building owner. The reasons most people decide to add window films are for additional privacy, added design and beauty, or added security. When completed some buildings or office spaces have a lot of glass in windows, walls, and dividers. While all that glass is nice for natural light and the appearance of more space, some people might need a little more privacy or the space might need more decorative elements.

Photo credit: DecorPad
An employee with an office with glass walls might want a little more privacy for meetings or for working alone. Windows might be in places where too many people can look into the office space. Adding a film can add privacy and security while allowing that valuable light to come into the office. Plane clear glass windows might need a little dressing up to add to the beauty of the business. Window films come in many attractive designs. The UV light coming into a space might present a hazard for fading materials or for causing a room to overheat or have an inconvenient glare.
What are 5 Steps to Install Window Film?
The beauty and usefulness of window film depend on how well it is installed. It should not have crinkles, folds, or tears to mar its beauty. There should not be any bubbles in the surface and the film should uniformly adhere to the window or wall glass. Five installations steps should include:
1. First, choose the correct window film for the job. There are lots of films on the market for different purposes and budgets.
2. Clean the glass area very well and dry it thoroughly. Follow the manufacturer’s directions for cleaning method and products.
3. Cut the film to cover the window allowing 1/2 inch extra all around. This will be trimmed for a perfect fit. Measure the glass space to be covered carefully because this is a project where there is no room for error.
4. Remove the film backing and wet the film or the window as per directions and position the film carefully on the glass. Reposition if necessary.
5. Finally, use a squeegee or other flat tool to flatten the film to the surface and eliminate any bubbles. Then, carefully trim any excess film.

Photo credit: HomeBunch
Films Can be Replaced
When the film is correctly installed it will add beauty and privacy to the room it is used in. And, there is an added benefit to window films such as these. They are easily removable, so if the building owner wants a new design, it is easy to change window film to a new design or color. When a rental office gets a new tenant, they can remove and replace the window film.


interiors.kiki
You May Also Like


