Browsing Tag

DIY projects

5-practical-construction-management-tips

Construction projects require a lot of planning. Project managers have to take steps to make sure every phase is planned in advance and all the contractors show up on time to ensure the job is completed according to schedule. 

The good news is that there are plenty of tools and industry best practices that will make construction management much easier. Read on to find five practical tips that can help.

1. Leverage the Power of Technology

These days, apps to assist with construction management abound. It’s best to purchase software that was specifically developed to meet unique industry needs. Download a concrete app to manage foundation laying and the construction of concrete structures, find payroll management software to ensure that all the contractors get paid on time, and use broader construction management tools to keep all the ducks in a row.
2. Plan and Schedule in Advance

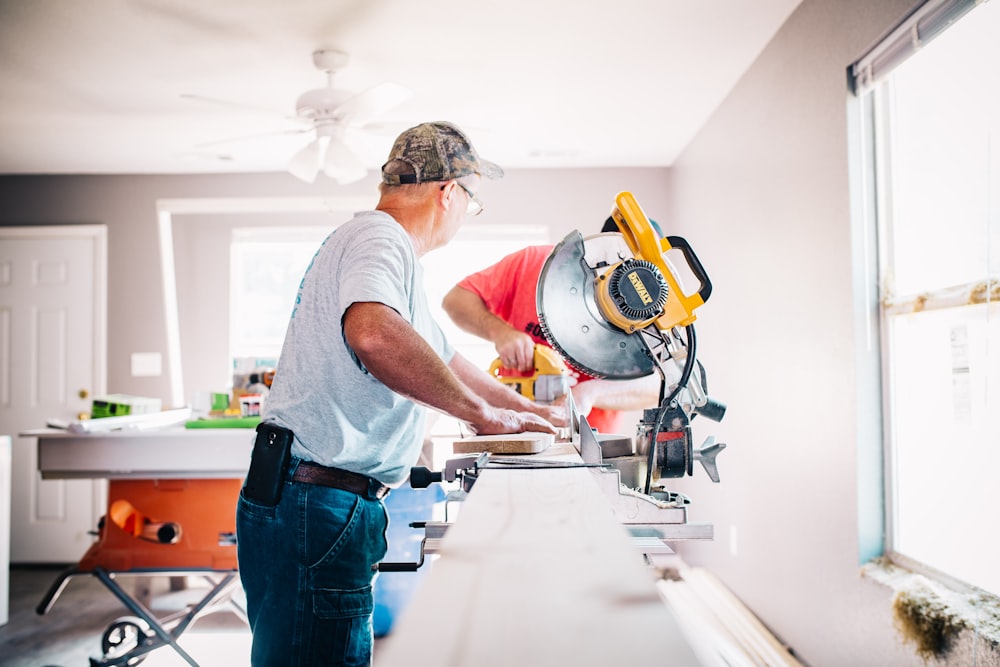
Adequate planning for a construction project takes some time, but it’s worth sorting out a detailed schedule in advance so that all the contractors are on the same page. Coordinate and organize tasks in a logical and efficient way, and take the time during the planning phase to ensure that all necessary resources, including manpower, tools, equipment, and materials, will be available when they’re needed. Work with suppliers and subcontractors to set a realistic timetable, then be prepared to adjust the plan as needed if issues arise.

3. Take on One Construction Problem at a Time

It’s easy for construction managers to get bogged down in details. While multitasking is an essential skill, it’s never wise to try to do everything at once. Prioritize issues in a way that makes sense.

For some construction managers, it’s easiest to tackle small problems first before moving on to larger ones. For others, it makes more sense to tackle the biggest issues first before focusing on smaller details. Either way, construction managers need to work with their project teams to develop solutions and address problems without creating unnecessary delays, and that requires focusing on just one thing at once.

4. Improve Communication

Construction project managers need to be able to communicate effectively in both written and oral forms. It’s important to be clear and concise, and it’s always best to establish a detailed communication plan in advance that includes both a chain of command for information sharing and predetermined methods of communication for dealing with every circumstance.

There’s no one communication strategy that’s right for every stage of a construction project. While change orders should always be conveyed through written communication, it’s perfectly fine to send a quick email or text to convey less vital information. Just keep in mind that delays almost always result from poor communication, and projects always run smoother if all the contractors are on the same page.
5. Learn From Mistakes

Everyone makes mistakes, but construction managers can learn from them to improve efficiency on the next project. Take the time to perform a project postmortem to assess the team’s performance after each project is completed and identify both areas of concern and places where the team excelled. An honest assessment of the team’s performance can help to inform future project planning.

The Bottom Line

Even seemingly simple construction projects can be quite complex. They usually require working with multiple specialized subcontractors, all of whom need to be on the same page about project timelines and expectations. Construction managers who have had trouble juggling their myriad job roles can implement the tips above to help ensure that everything goes smoothly on the next project.

0 comment
Share:
diy-projects-to-do-at-home-with-your-kids

With the summer months approaching, you may be panicking when you think of things to do to keep your children occupied while on summer vacation or on the weekends. You may not know how you are going to keep them busy and out of trouble while also doing the things around the house that you need to. But what if there was a way to keep them occupied while also allowing you to do the DIY projects you have been meaning to get to?

This post will detail 4 fun DIY projects that you and your kids can do together this summer; not only will your children be occupied, but they will also be helping you make the small home renovations you have been wanting. 

What Are Some DIY Projects to Do With the Whole Family?

DIY projects are great for a number of different reasons. Not only will you be able to create the exact project you have had in mind, but you will also save money and be entertained while doing so. With that being said, DIY projects that include the whole family takes those benefits one step further. Here are 4 DIY projects that will keep the whole family engaged this summer. 

  1. Repurpose Old Furniture

Getting new furniture is costly, especially if you have little ones. But what happens when you desperately need a new coffee table or outdoor sofa? A great DIY solution is to repurpose old furniture. If you have old furniture, consider making it a family affair and redoing it somehow. Consider repainting it, refinishing it, or even reconstructing it for parts. 

This DIY project will save you money and can be done as a family. If you don’t have any furniture that you want to repurpose, consider buying secondhand furniture either online or at a secondhand shop. 

  1. Make Your Own Wall Decor

This is a great way to get the family involved and create meaningful wall decor. Some DIY wall decoration ideas include:

  • A gallery wall; hang your children’s artwork and family photos to cover an entire wall
  • Custom made/painted wooden signs
  • Paint murals as a family to hang on your wall
  • Homemade dream catchers
  • Make your own stained glass pieces
  1. Get Creative With Storage

Storage is something we all need more of, especially if you’re a parent. Creating storage can be a hassle and extremely time-consuming, however, consider turning it into a DIY project with your children. To start creating storage units with your kids, start in their spaces, either their rooms or playroom, as they will get excited and express interest in this DIY project. 

Some other creative DIY storage projects to consider include:

  • Mason jar brush holders
  • Hanging wicker baskets
  • Hang craft boxes
  • Turn apple crates into shelving
  • Repurposed dresser drawers as shelving 
  1. Create a Gorgeous Garden 

When people think of DIY projects, they often think of projects that have to do with crafts or building something, they don’t typically think of outdoor projects or gardening. However, gardening is in fact a great DIY project to do with the family as you can build the gorgeous garden of your dreams. 

A roofing contractor in Voorhees pointed out that gardens can add to the exterior aesthetic of your home so turning it into a DIY project to do with your family can be worth your while. Consider planting flowers, shrubs, or even fruits and veggies with your kids. To make this DIY project one step further, have your children paint pots to plant things in or create garden decorations as a family. 

Start Your Project Today

Instead of worrying about what you are going to do to entertain your children this summer, look into other fun and exciting DIY projects that you can do with them. Be proactive and try to get the supplies ahead of time so that your DIY project runs as smoothly as possible. 

About the Author

Jennifer Bell is a freelance writer, blogger, dog-enthusiast and avid beach-goer operating out of Southern New Jersey

KEEP THE KIDS BUSY….

0 comment
Share:
how-to-install-frosted-glass-window-film

Glass doors, glass walls, glass room dividers, and large windows are very popular right now. But, once all that glass is used and people are actually using the rooms, there may be issues with privacy, sun glare, UV damage, Or security. The glass is fine, it just needs one more step to work better. Window films come in many different thicknesses, colors, and designs that will add design interest while giving people a little privacy.

Why Use a Film?

Installing frosted window film is not a hard project if quality films are purchased to start with. After purchasing good-quality window films, they must be installed by the supplier or by the building owner. The reasons most people decide to add window films are for additional privacy, added design and beauty, or added security. When completed some buildings or office spaces have a lot of glass in windows, walls, and dividers. While all that glass is nice for natural light and the appearance of more space, some people might need a little more privacy or the space might need more decorative elements.

Photo credit: DecorPad

An employee with an office with glass walls might want a little more privacy for meetings or for working alone. Windows might be in places where too many people can look into the office space. Adding a film can add privacy and security while allowing that valuable light to come into the office. Plane clear glass windows might need a little dressing up to add to the beauty of the business. Window films come in many attractive designs. The UV light coming into a space might present a hazard for fading materials or for causing a room to overheat or have an inconvenient glare.

What are 5 Steps to Install Window Film?

The beauty and usefulness of window film depend on how well it is installed. It should not have crinkles, folds, or tears to mar its beauty. There should not be any bubbles in the surface and the film should uniformly adhere to the window or wall glass. Five installations steps should include:

1. First, choose the correct window film for the job. There are lots of films on the market for different purposes and budgets.

2. Clean the glass area very well and dry it thoroughly. Follow the manufacturer’s directions for cleaning method and products.

3. Cut the film to cover the window allowing 1/2 inch extra all around. This will be trimmed for a perfect fit. Measure the glass space to be covered carefully because this is a project where there is no room for error.

4. Remove the film backing and wet the film or the window as per directions and position the film carefully on the glass. Reposition if necessary.

5. Finally, use a squeegee or other flat tool to flatten the film to the surface and eliminate any bubbles. Then, carefully trim any excess film.

Photo credit: HomeBunch

Films Can be Replaced

When the film is correctly installed it will add beauty and privacy to the room it is used in. And, there is an added benefit to window films such as these. They are easily removable, so if the building owner wants a new design, it is easy to change window film to a new design or color. When a rental office gets a new tenant, they can remove and replace the window film.

0 comment
Share:
diy-wallpaper-your-furniture

Who loves wallpaper? It’s great for adding some visual interest to a wall.  But …what about adding wallpaper to your furniture?

If you really want to transform your space you need to go BOLD! 

Check out this great Do-It-Yourself project that will make any piece of furniture stand out from the crowd.

Wallpaper is a great way to add some whimsy, pattern, colour and design to a space.  We have seen so many accent walls with wallpaper but wallpaper-ing your furniture is still a newer trend.  We love the look and it is a great way to add a unique touch to a space!


Check out online sites for fabulous wallpaper options and breathe new life into an aging cabinet or a funky yard sale find. This is perfect for a cabinet, dresser or end table but nothing too ornate – keep it simple.

1.  Lightly sand the surface. Be sure to unhinge the cabinet doors and remove the hardware.

2.  Apply two coats of an oil-based primer, waiting an hour between coats.

3.  Cut the wallpaper to size using a straightedge blade. 

4.  Paint on a tin layer of mod podge and apply the wallpaper – starting in the center and working to the edges, this helps to flatten out the air bubbles.

5. Wait 24 hrs before applying a coat of acrylic sealant.


Wall paper on furniture really makes a piece look special but also custom.  We are loving these bookcases with a wallpaper backing. It adds so much visual interest to the piece and the room.  You can add a small amount of wallpaper that suits your taste to a basic bookcase and really make it yours!


Wallpaper on furniture is perfect for a child’s room too – chose so bold and playful options and add them to draw fronts.


Another super simple project for those who aren’t as crafty.  Try framing small samples of wallpaper (or even craft paper) and hang it on the wall.  I did this in my daughter’s bedroom and it looks great.  It’s an easy art project plus it’s fun to mix up all of the prints in one space.


Wallpaper offers you so many options – the selection and styles are so varied.  This is a great project fro the DIYer that loves to make a statement!


1 comment
Share: